Adding a Lua custom plugin to Kong via a Docker image
Baking a JWT custom plugin written in Lua into the Kong image with a Dockerfile, attaching it to a Route in Konga, and setting up the Consumer's JWT credential in Kong Manager, along with which phase of the request the plugin runs in.
Introduction
Kong ships with plenty of plugins for authentication, rate limiting, logging and so on. Still, sometimes none of them does exactly what you need, and for that Kong lets you add custom plugins.
Custom plugins are normally written in Lua. You can write them in other languages like Go or Java, but that takes extra setup. In this post I’ll bake a JWT authentication plugin written in Lua (jwt-custom) into a Docker image and apply it to Kong.
I’m assuming PostgreSQL, the Kong DB initialization and Konga are already set up. If not, start with Installing Kong API Gateway and Konga with Docker.
1. Which phase of the request does a plugin run in? 🧩
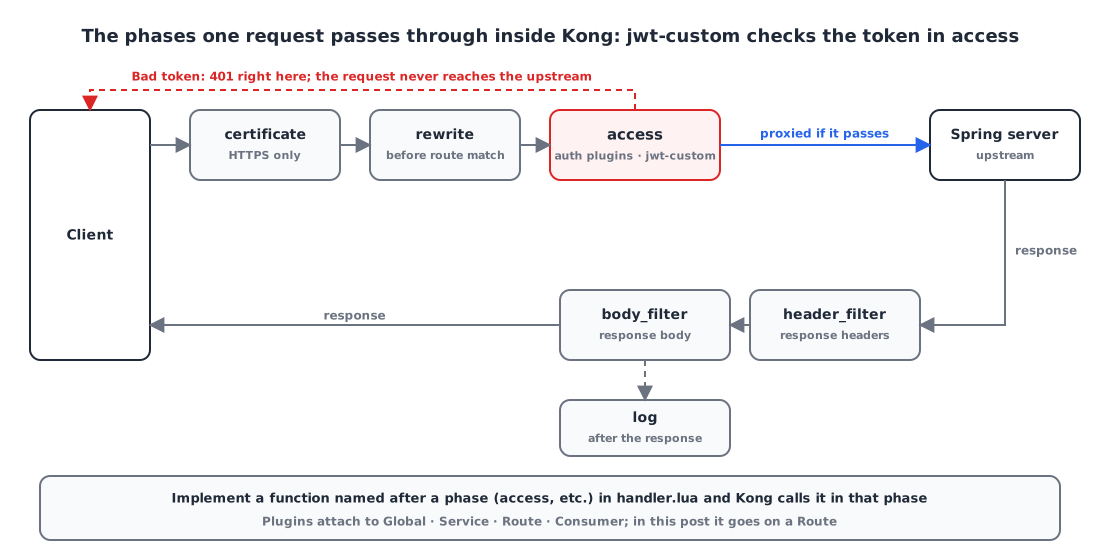
Kong processes a request in several phases, and a plugin hooks into the phases it wants by implementing functions with the same names in handler.lua. Authentication plugins usually run in the access phase, before the request is handed upstream. If the token is bad, the plugin responds right there and the request never reaches the upstream server.
A plugin is a directory, and it needs at least these two files:
| File | Role |
|---|---|
handler.lua | The logic to run in each phase |
schema.lua | The shape and defaults of the plugin’s config values |
2. Build an image with the plugin 🐳
① Write the Dockerfile
Copy the plugin directory (./jwt-custom) into the official Kong image.
1
2
3
4
5
6
7
8
9
10
11
12
13
14
15
16
FROM kong:latest

USER root

# Add custom plugin to the image
COPY ./jwt-custom /usr/local/share/lua/5.1/kong/plugins/jwt-custom
ENV KONG_PLUGINS=bundled,jwt-custom

# Ensure kong user is selected for image execution
USER kong

# Get Kong ready to run
EXPOSE 8000 8443 8001 8444 8002
STOPSIGNAL SIGQUIT
HEALTHCHECK --interval=10s --timeout=10s --retries=10 CMD kong health
CMD ["sleep", "infinity"]
Each line is there for a reason:
USER root: copying files into system paths in the image needs root. Once the copy is done, switch back withUSER kong.COPY ... /usr/local/share/lua/5.1/kong/plugins/jwt-custom: Kong looks plugins up as the modulekong.plugins.<name>. The plugin has to live underkong/plugins/on the Lua module path to be loadable by name.ENV KONG_PLUGINS=bundled,jwt-custom: Kong only loads plugins in this list.bundledmeans all the built-in plugins, so this keeps them and addsjwt-custom.EXPOSE ... 8002: 8002 is the port for Kong Manager (Kong’s built-in admin UI), which we’ll use later.
② Build the image
Build from the directory that contains the Dockerfile.
1
docker build -t kong-custom .
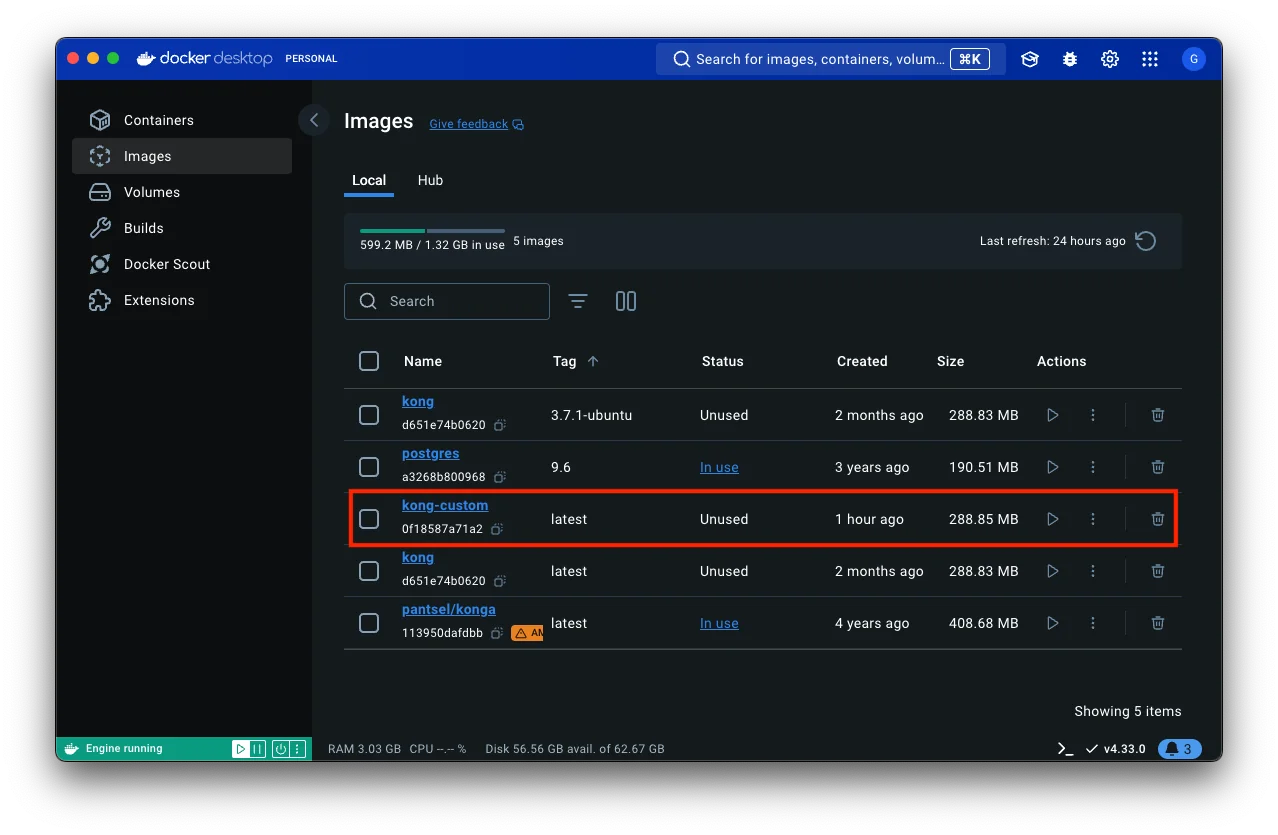
Once the build finishes, you have a kong-custom image.
3. Run Kong from the custom image 🚀
① Run the container
Use the same DB settings and network as in the install post, but switch the image to kong-custom and also open port 8002 for Kong Manager.
1
2
3
4
5
6
7
8
9
10
11
12
13
14
15
16
17
docker run -d --name kong \
  --network=kong-net \
  -e "KONG_DATABASE=postgres" \
  -e "KONG_PG_HOST=kong-database" \
  -e "KONG_PG_USER=kong" \
  -e "KONG_PG_PASSWORD=kong" \
  -e "KONG_PROXY_ACCESS_LOG=/dev/stdout" \
  -e "KONG_ADMIN_ACCESS_LOG=/dev/stdout" \
  -e "KONG_PROXY_ERROR_LOG=/dev/stderr" \
  -e "KONG_ADMIN_ERROR_LOG=/dev/stderr" \
  -e "KONG_ADMIN_LISTEN=0.0.0.0:8001, 0.0.0.0:8444 ssl" \
  -p 8000:8000 \
  -p 8443:8443 \
  -p 8002:8002 \
  -p 127.0.0.1:8001:8001 \
  -p 127.0.0.1:8444:8444 \
  kong-custom
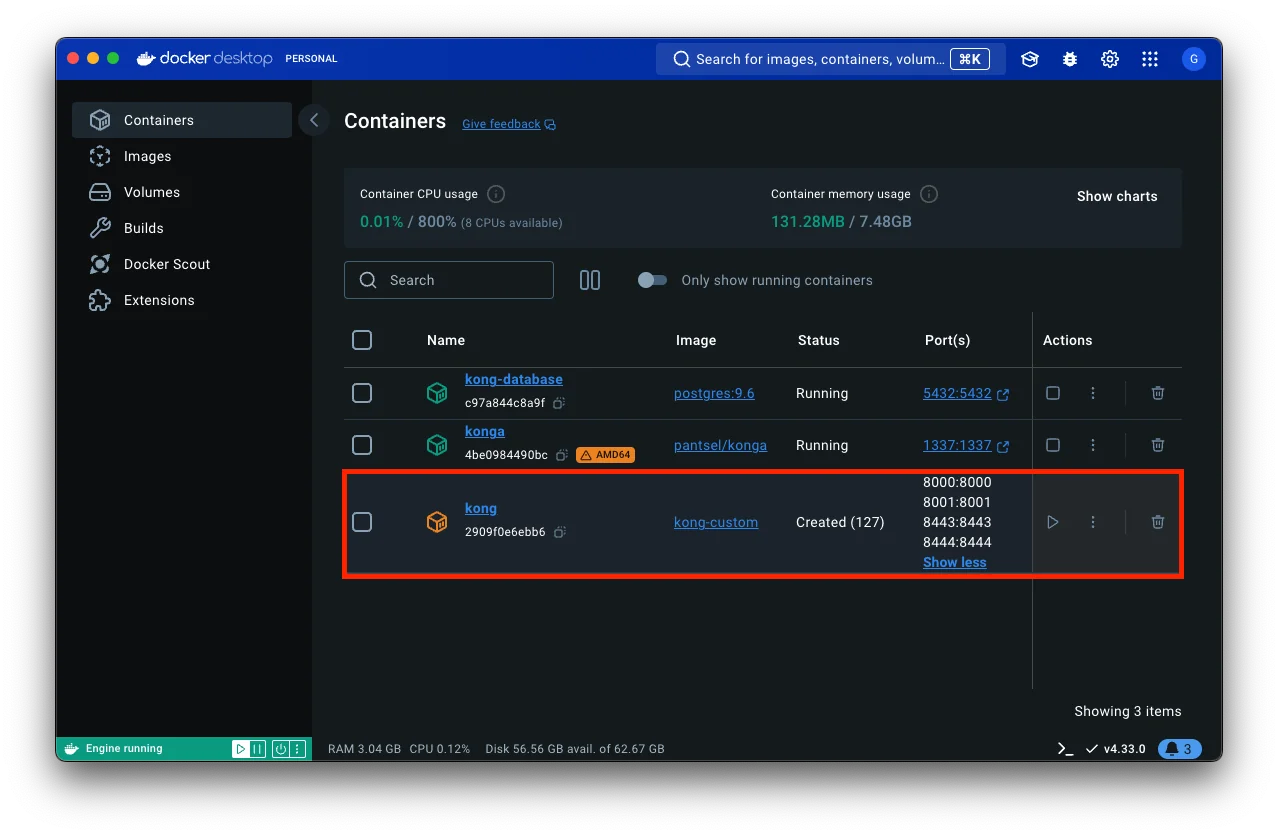
A kong container built from the kong-custom image shows up in the container list.
② Start Kong
The Dockerfile overrode CMD with sleep infinity, so the container is up but the Kong process hasn’t started yet. Shell into the container and start it by hand.
1
docker exec -it kong bash
1
kong start
The official Kong image’s default
CMDiskong docker-start. If you drop theCMDline from the Dockerfile, Kong starts along with the container and you can skip this step.
4. Attach the plugin to a Route in Konga 🖱️
A plugin can be attached at one of four levels:
| Target | Scope |
|---|---|
| Services | Every request to that Service |
| Routes | Requests matched by that Route |
| Consumers | Requests authenticated as that Consumer |
| Global | Every request |
This time I attached jwt-custom to a Route.
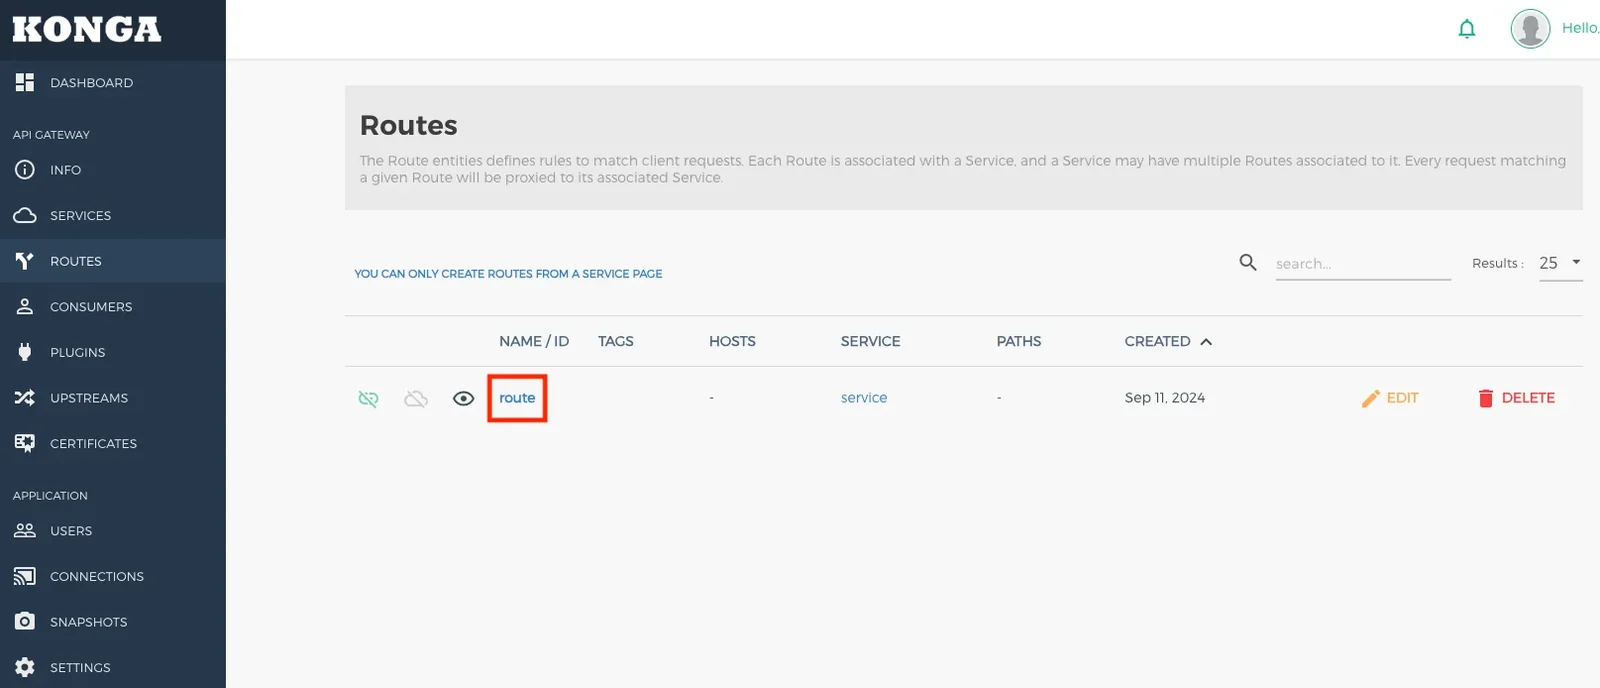
① Pick the Route
Open Konga at localhost:1337 and click the Route to attach the plugin to.
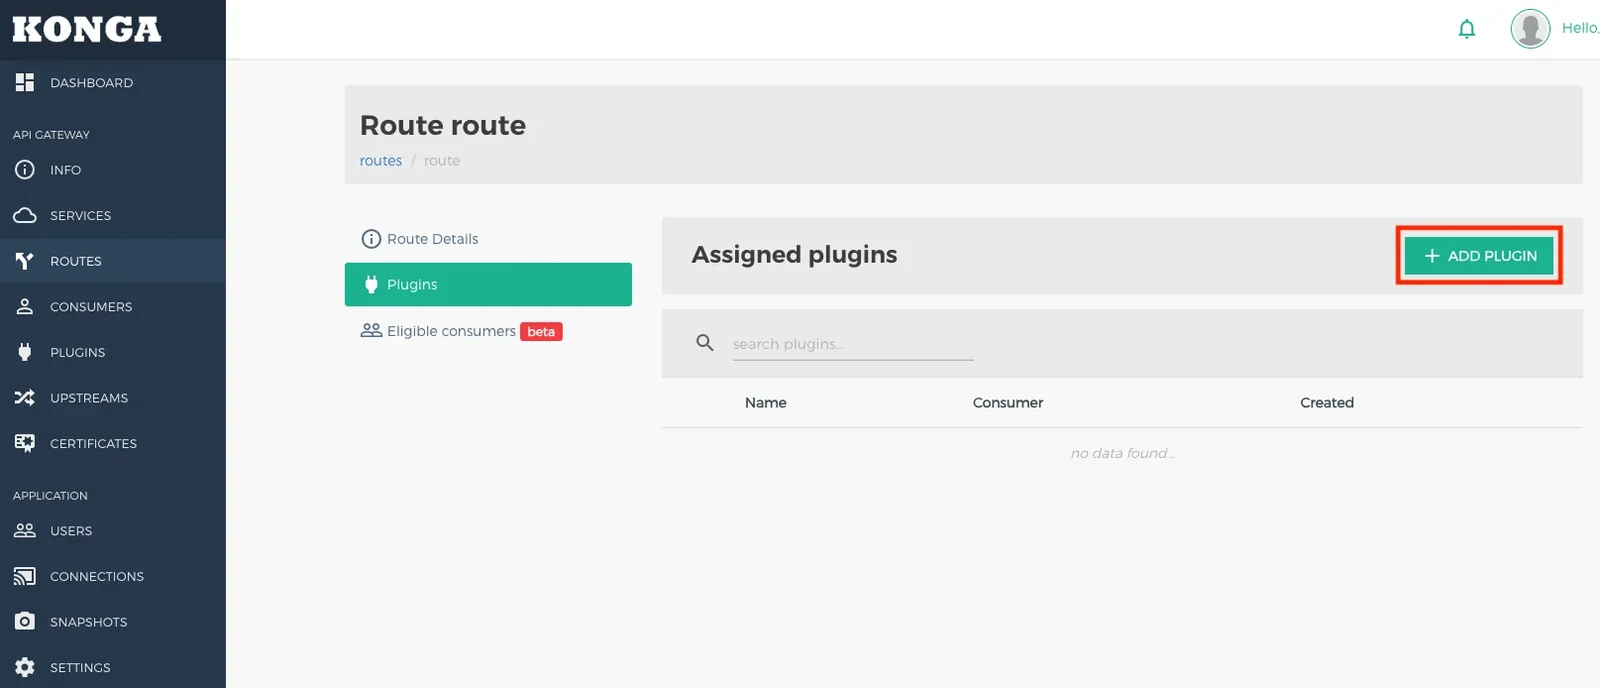
② Add a plugin
Go to the Plugins tab and click ADD PLUGIN.
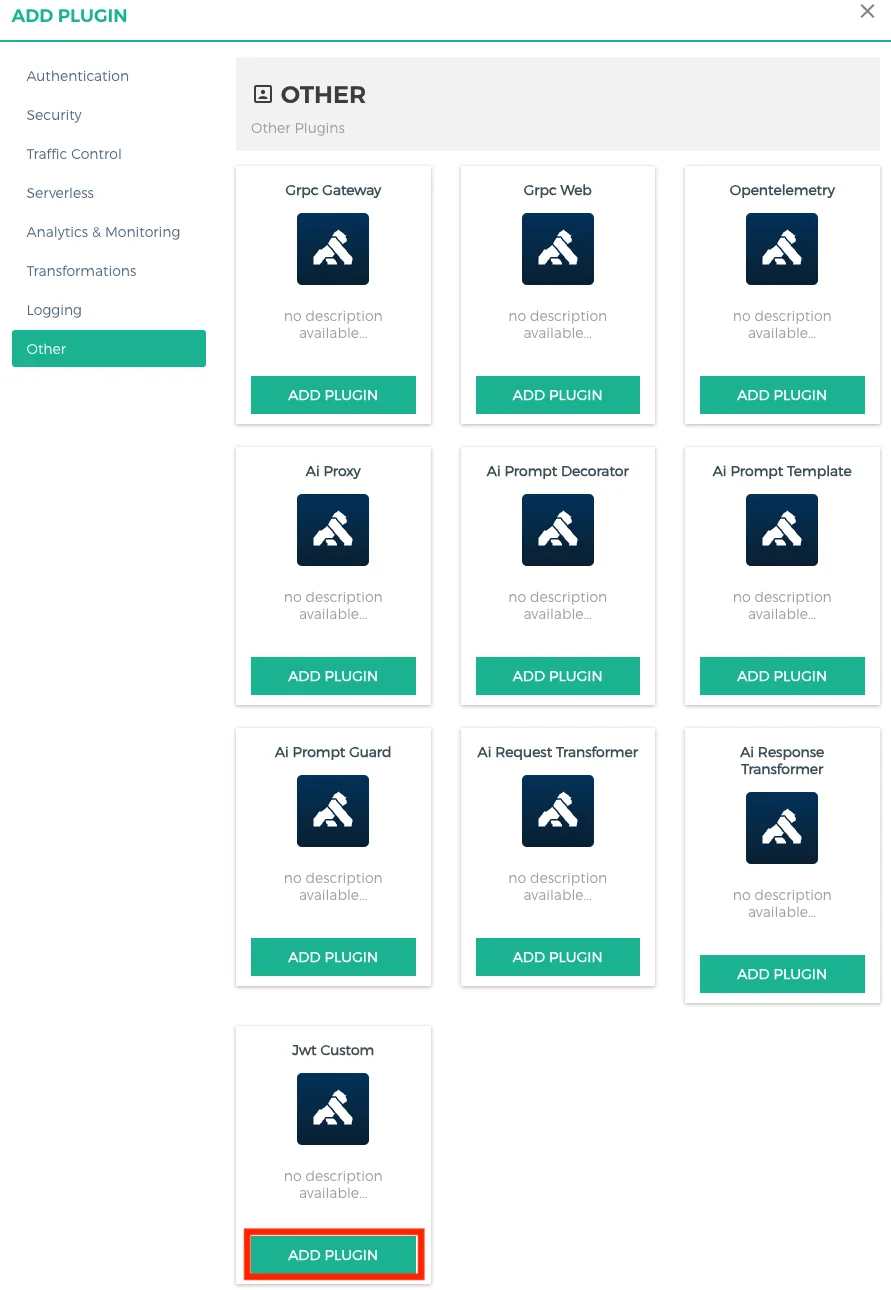
③ Pick the custom plugin
Custom plugins are under the Other tab. If the jwt-custom you put in KONG_PLUGINS shows up here, Kong loaded it correctly.
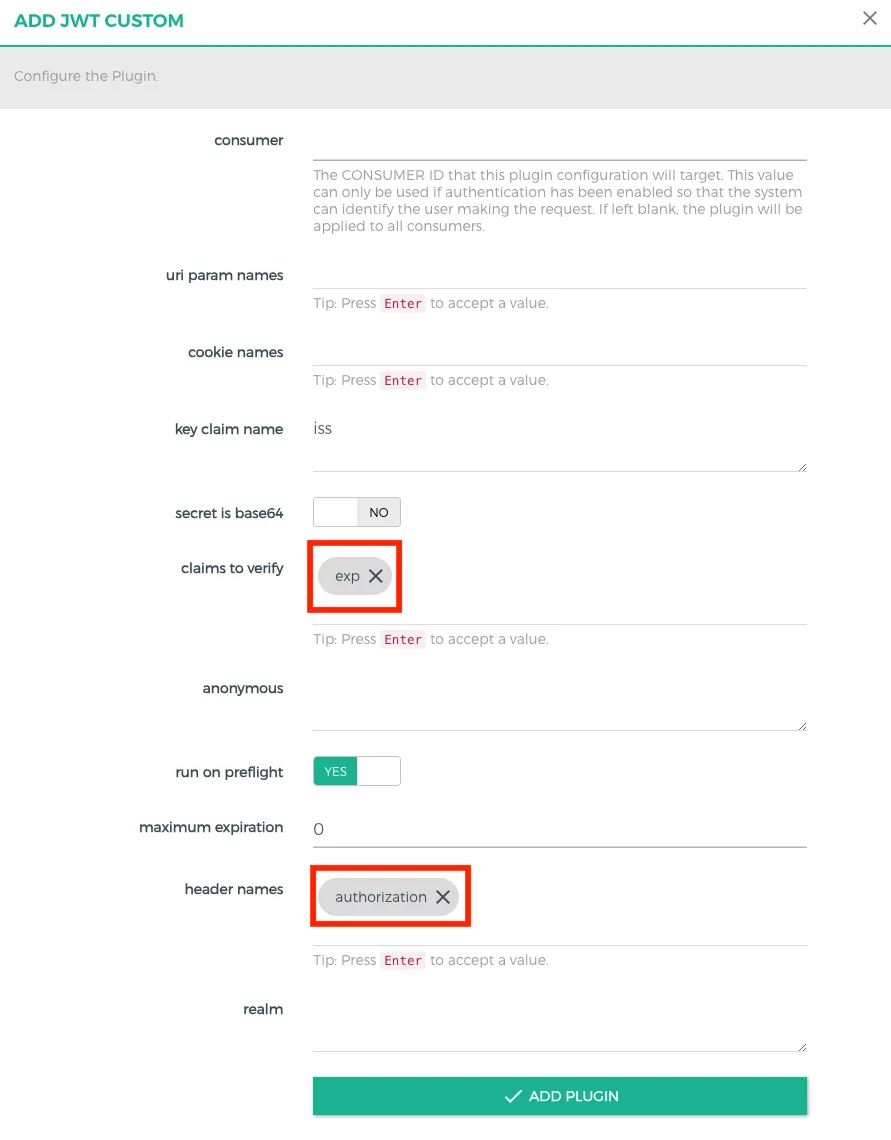
④ Set the properties
Fill in the config values defined in schema.lua.
5. Set up the JWT credential in Kong Manager 🔑
The plugin is attached, but we’re not done. To verify tokens, the Consumer needs a JWT credential (issuer, secret, algorithm). Those values, alg and secret in particular, can’t be changed in Konga, so I set them in Kong Manager.
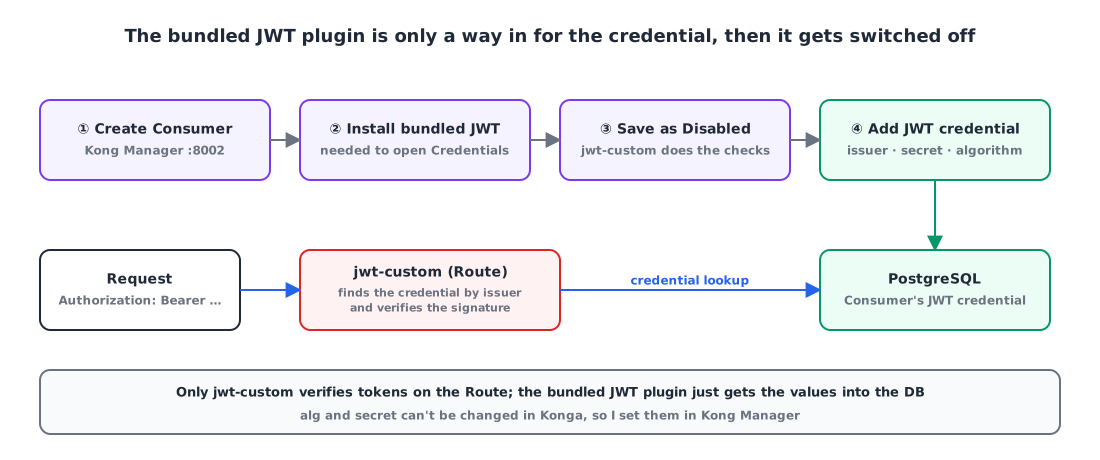
The key point: the bundled JWT plugin is used only as a way to get the credential in, and then switched off. The actual token verification is done by jwt-custom on the Route.
① Create a Consumer
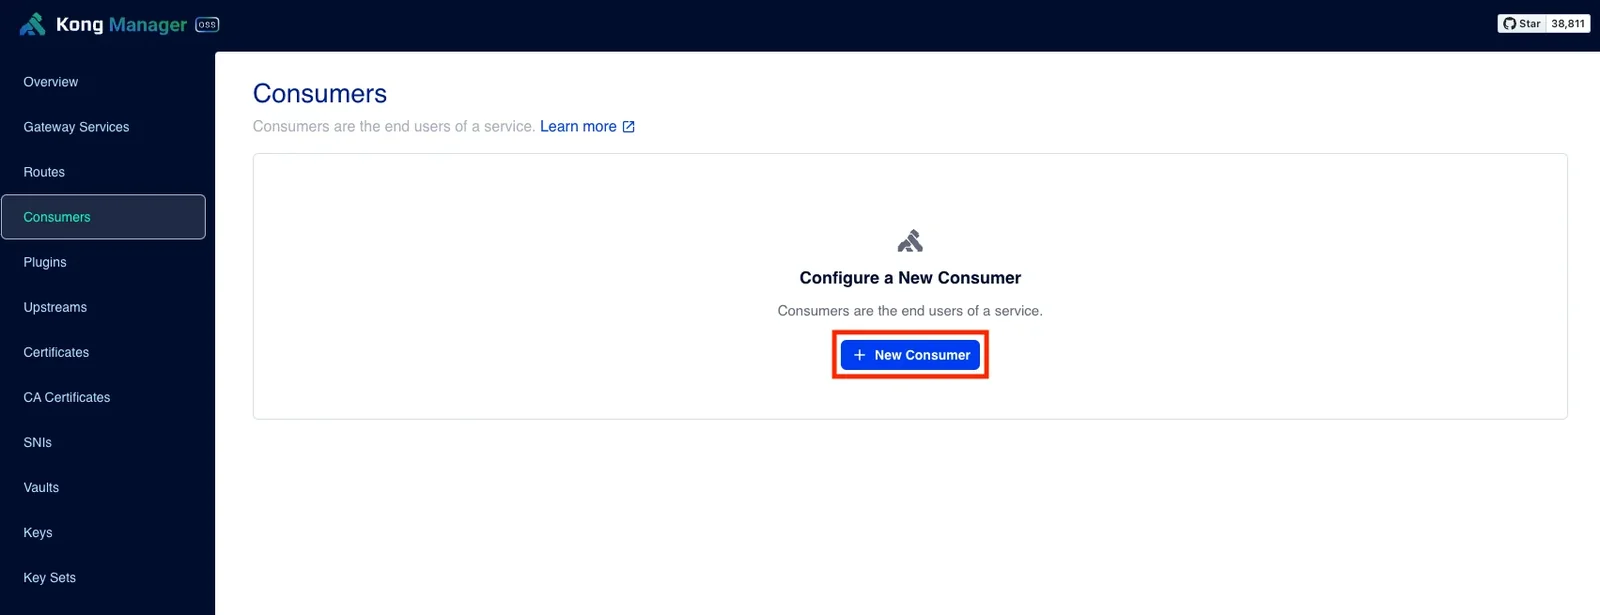
Open Kong Manager at localhost:8002, go to the Consumers tab and click New Consumer.
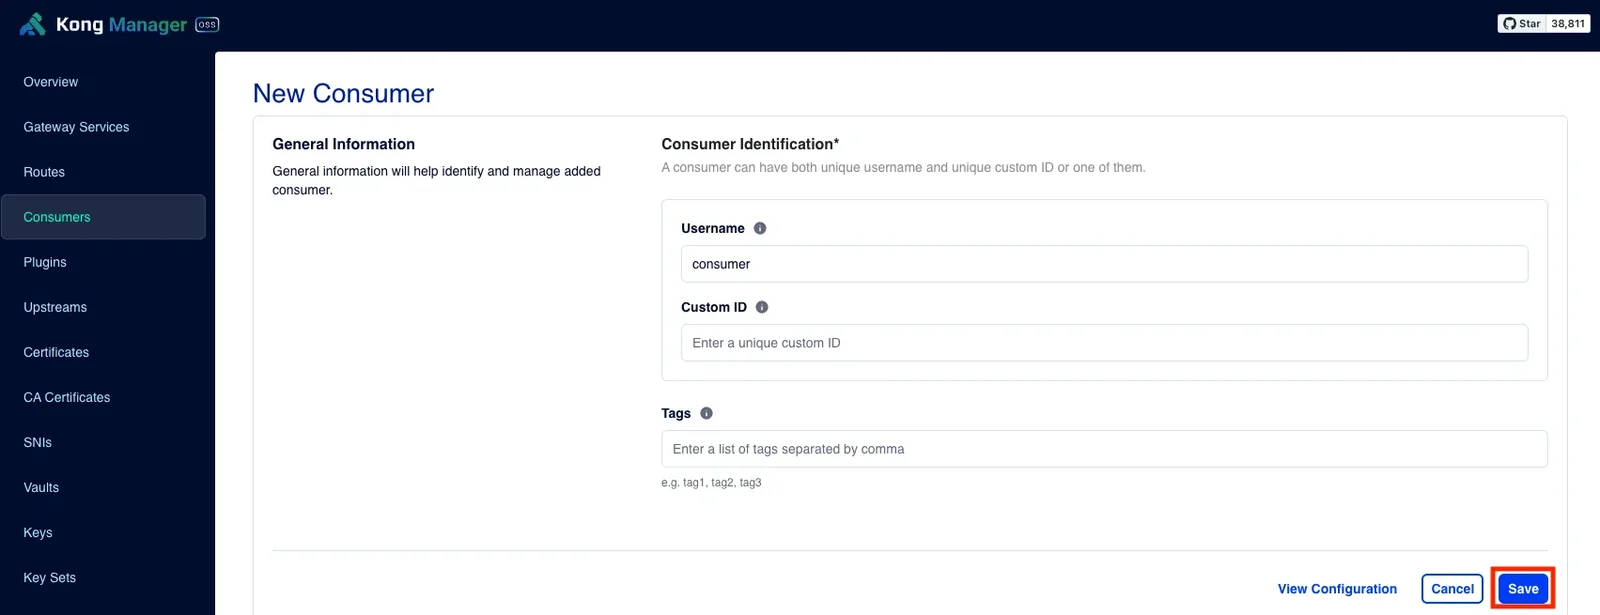
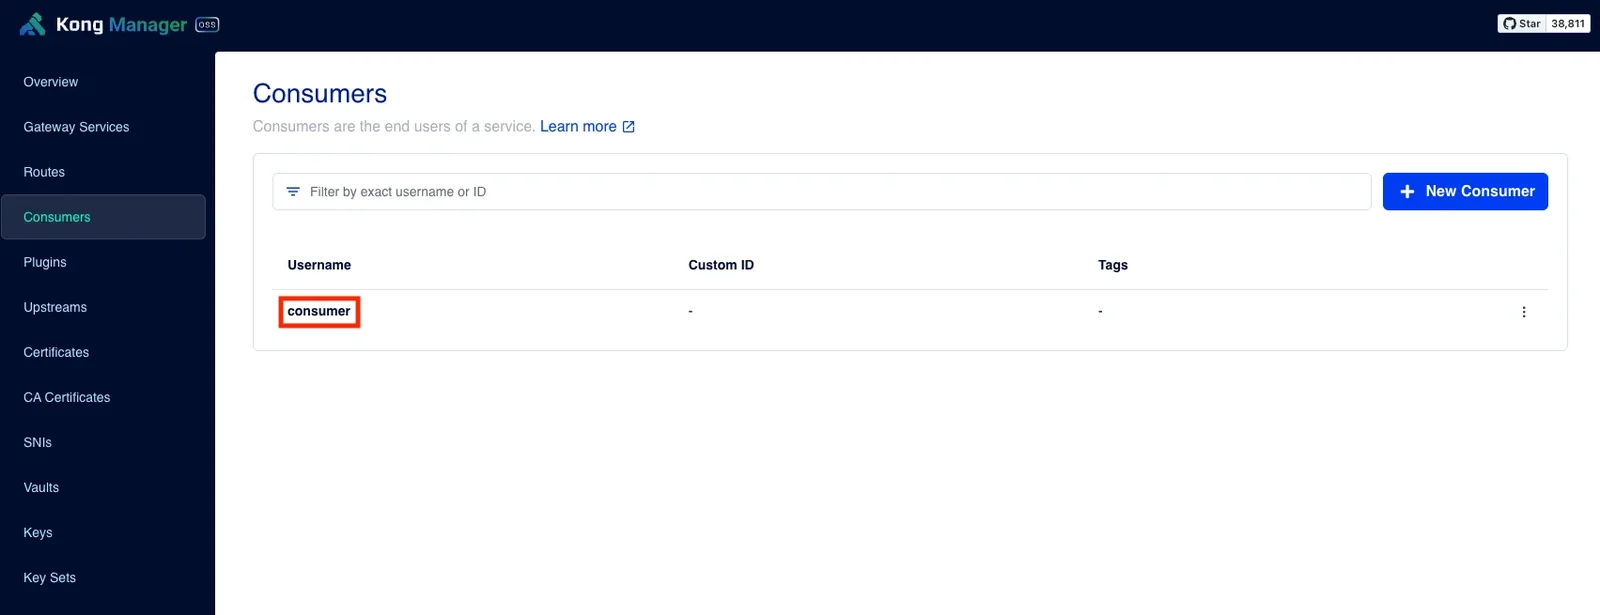
Enter a Username and save. I called mine consumer.
② Install the bundled JWT plugin from the Credentials tab
Click the new Consumer to open its detail page.
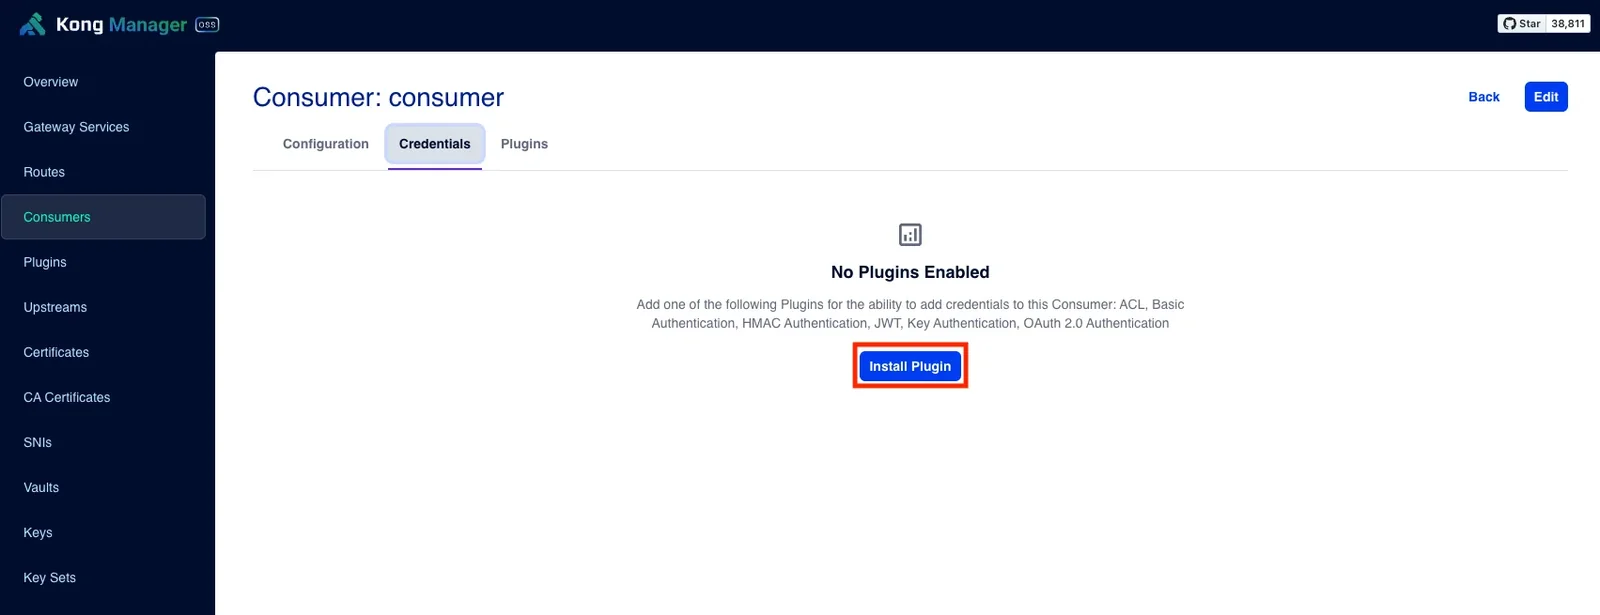
The Credentials tab says “No Plugins Enabled”. That’s because you can’t add credentials to a Consumer until at least one auth plugin, such as ACL, Basic Authentication or JWT, is installed. Click Install Plugin.
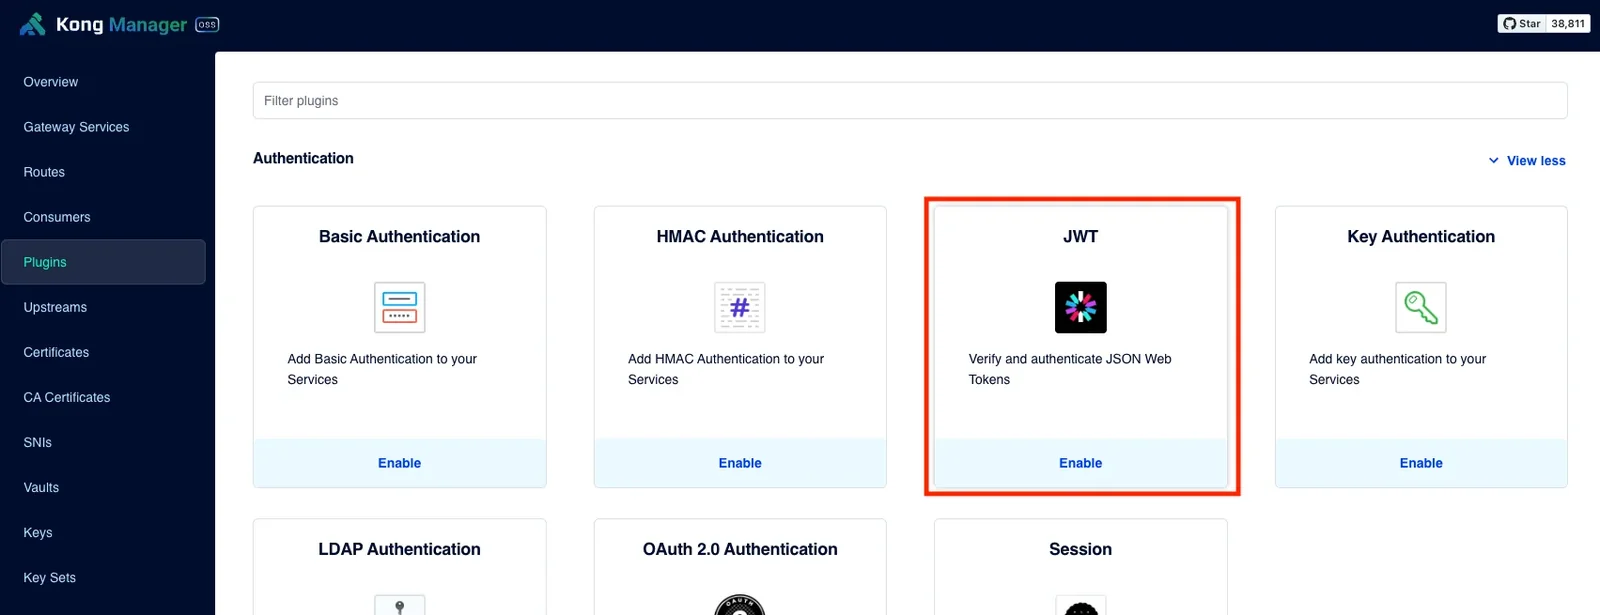
Pick the bundled JWT plugin from the list of auth plugins.
③ Save the bundled JWT plugin as Disabled
The goal is to verify with jwt-custom; the bundled JWT plugin is only there to get the credential into the DB. To keep the two plugins from both verifying, flip the switch at the top of the config screen to leave it Disabled.
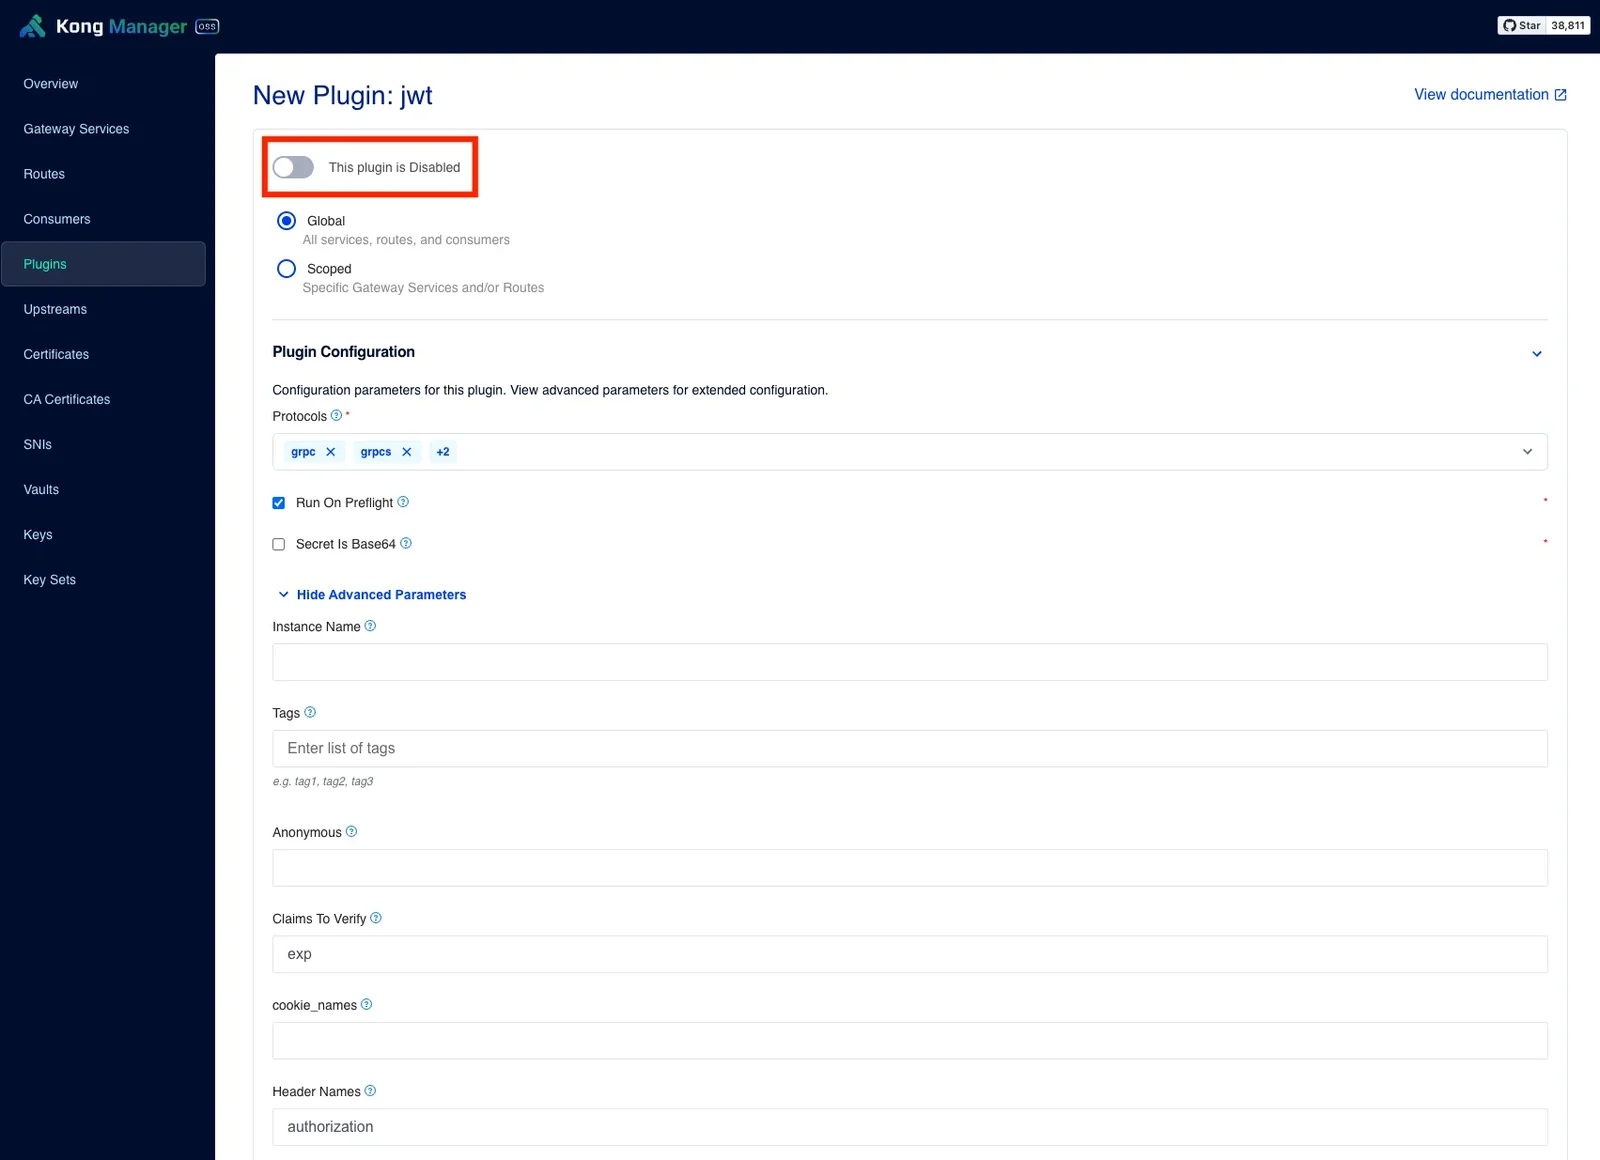
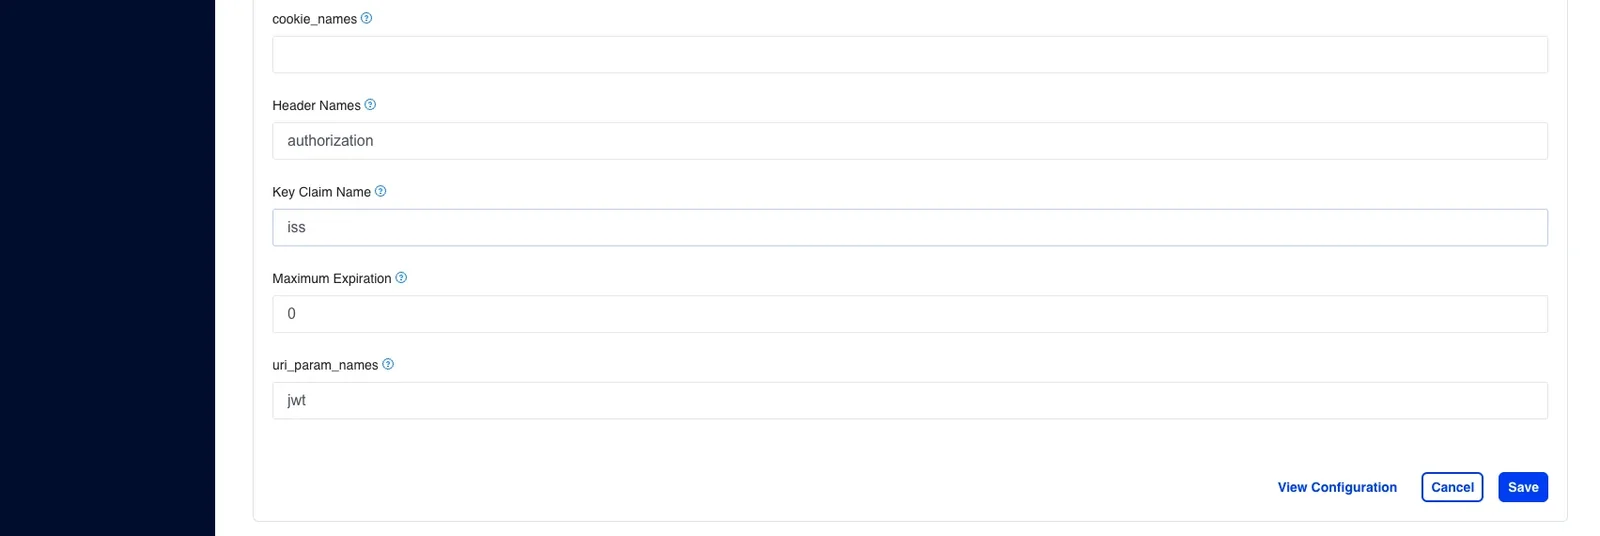
Leave the rest at the defaults and save. Note that Key Claim Name is iss: the credential is looked up by the token’s iss value.
④ Add the JWT credential
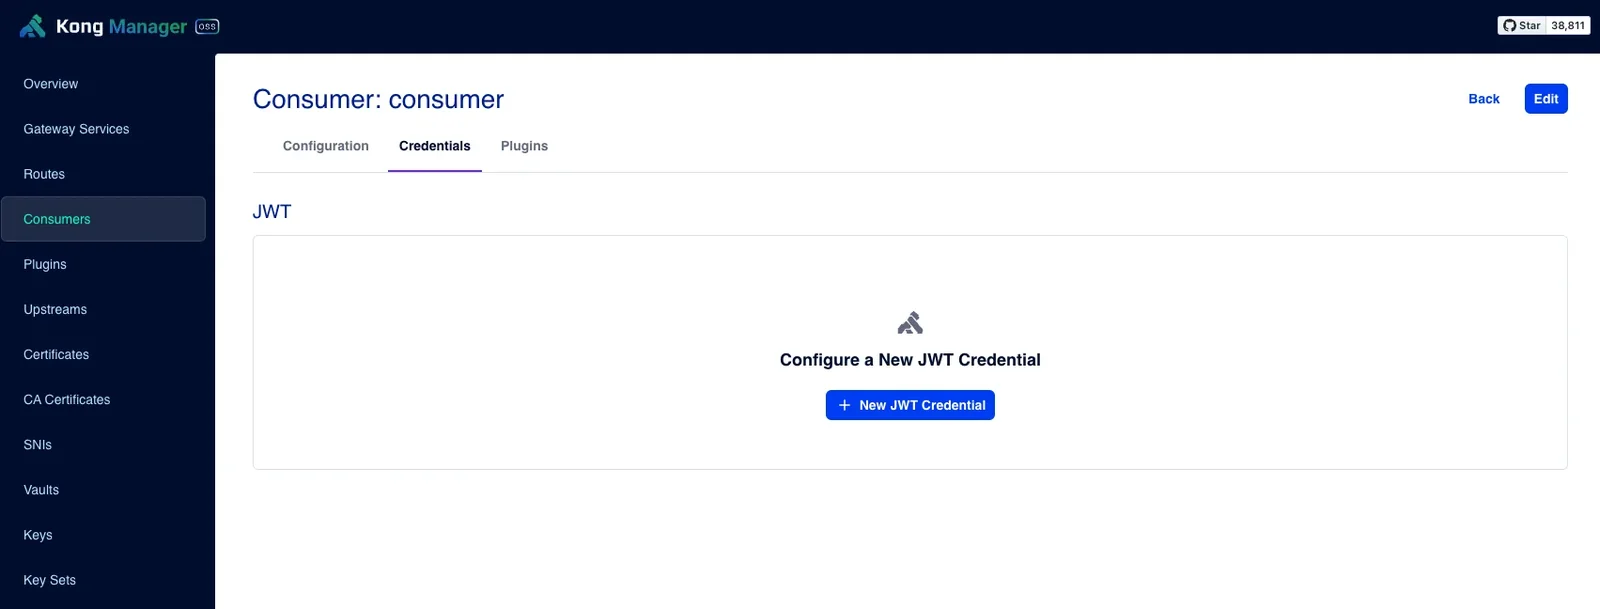
The Consumer’s Credentials tab now has a JWT section. Click New JWT Credential.
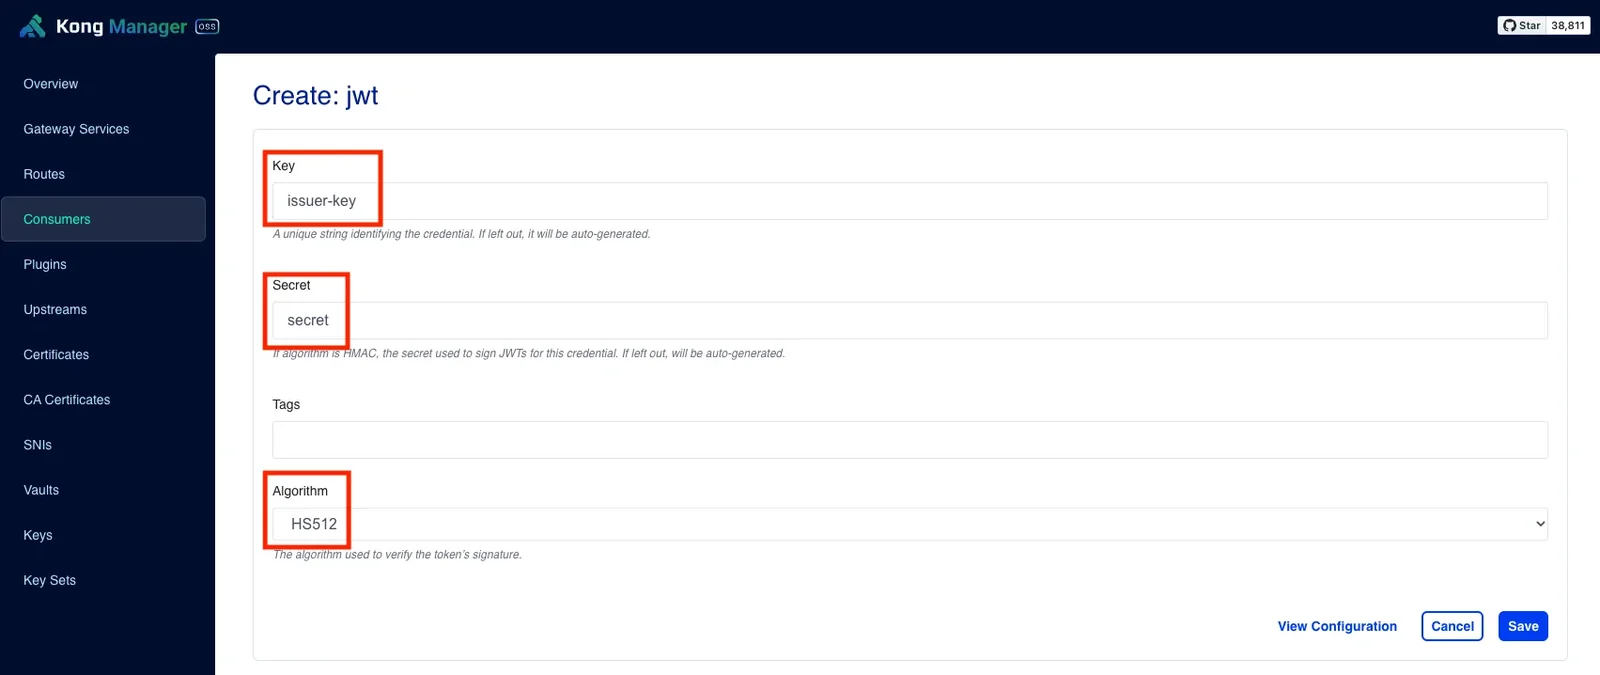
Enter the Key (issuer), Secret and Algorithm. Key must match the token’s iss, and Secret is the secret key the token was signed with.
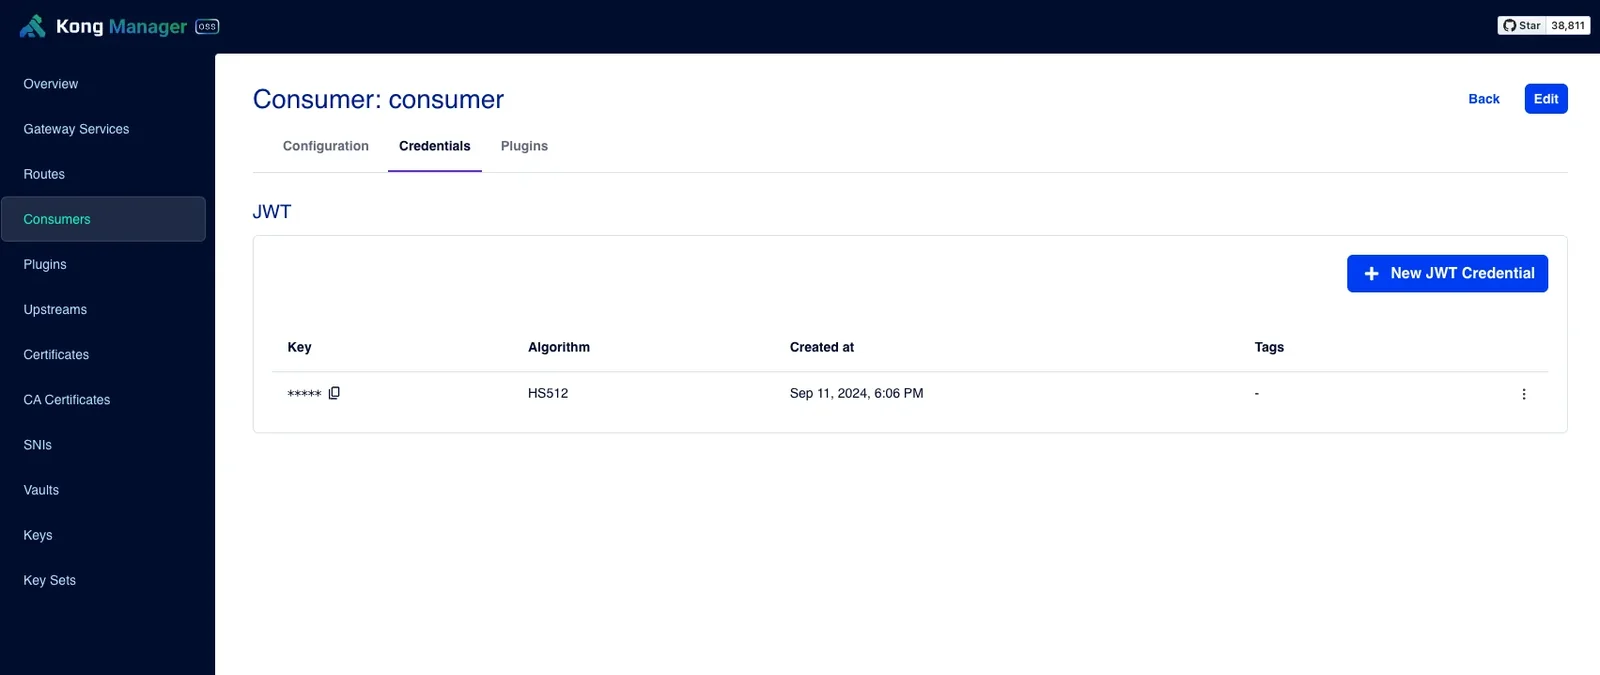
That’s the custom plugin fully applied.

Wrap-up
- Put a custom plugin under
kong/plugins/<name>and add its name toKONG_PLUGINS, or Kong won’t load it. Includebundledto keep the built-in plugins. - Auth plugins run in the
accessphase. Requests stopped there never reach the upstream. - Plugins attach to a Service, Route, Consumer or Global. If one shows up under Konga’s Other tab, Kong has loaded it.
- Adding a JWT credential to a Consumer requires the bundled JWT plugin to be installed. Install it as Disabled so it only serves as the way in for credentials, and let the custom plugin do all the verifying.
References